.svg)
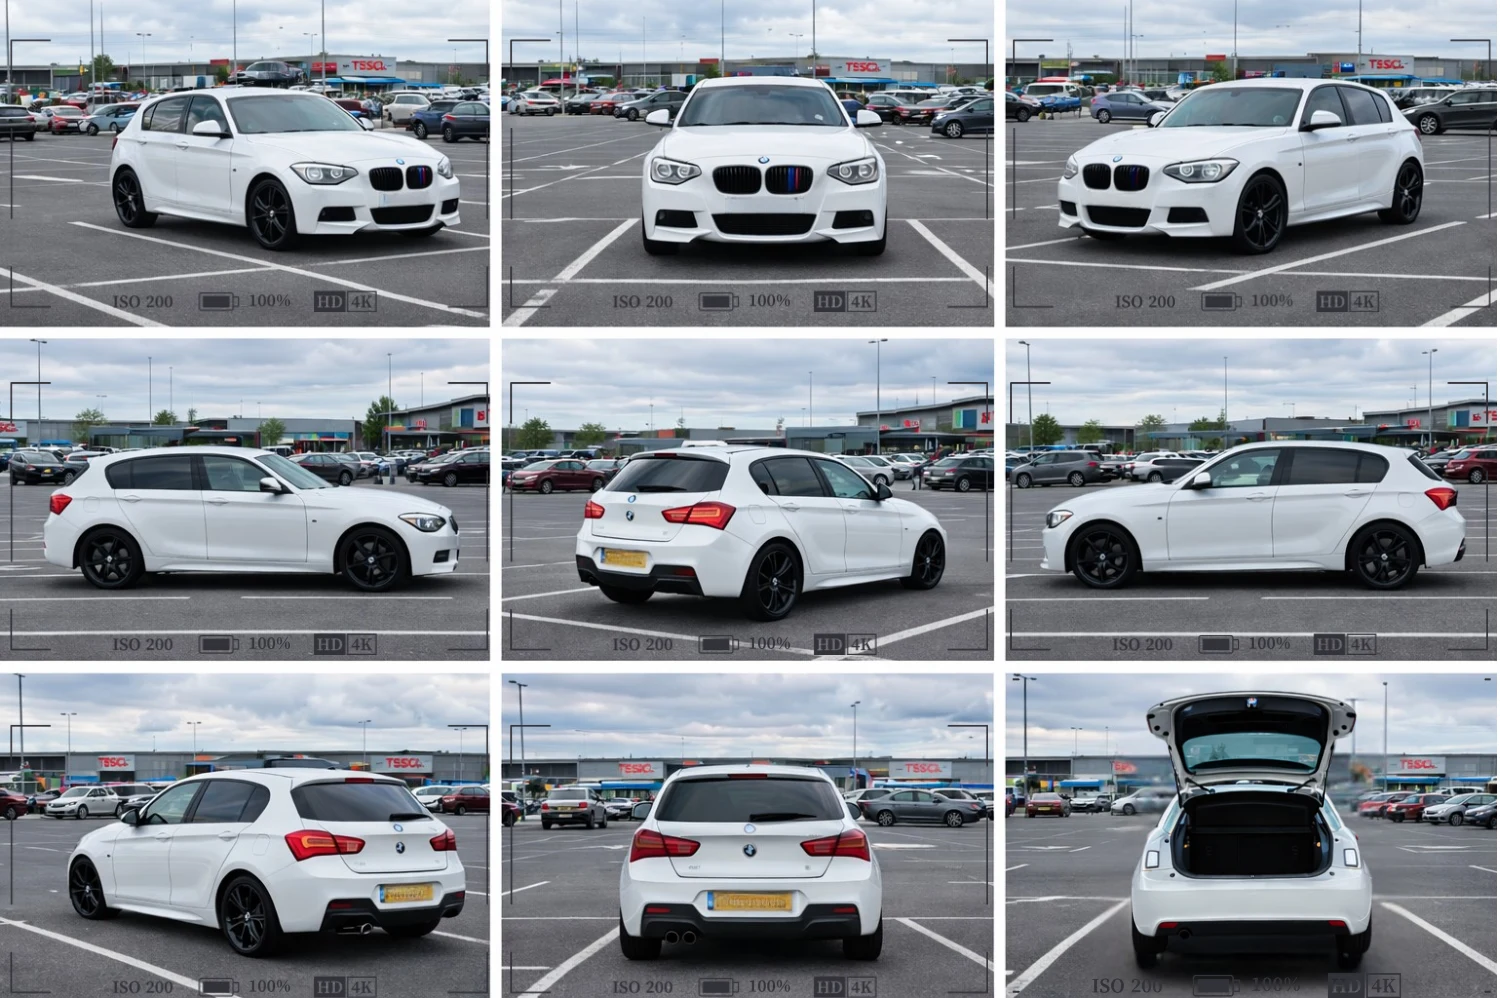
📸 How to Take the Perfect Photo
Follow these simple steps to get flawless showroom results. New user? Try your first image for FREE below.

Park on Level Ground
Instruction: Park on a flat, even surface.
Why it Works: A level base helps you naturally keep the camera horizontal and steady.
Maintain Camera Level
Instruction: If you’re on a slight slope, hold the camera level with the car, not the horizon.
Why it Works: Prevents distortion from tilting the lens upward or downward.
Position Yourself 7 to 9 strides Away
Instruction: stand back Approximately 7–9 meters away from the car.
Why it Works: This distance prevents wide-angle bulging or stretched car proportions.
Use the Correct Shooting Height
Instruction: Position yourself so the camera is level somewhere between the door mirror and roof line.
Why it Works: Produces clean, professional automotive perspective.
Avoid Any Camera Tilt
Instruction: Keep the camera perfectly level - no sideways tilt and no up/down angle.
Why it Works: A level camera prevents perspective distortion, producing a seamless final edit.
Shoot in Soft Daylight
Instruction: Take photos during overcast weather or in open shade.
Why it Works: Soft, diffused light avoids harsh shadows and highlights, producing the cleanest results.
.jpg)

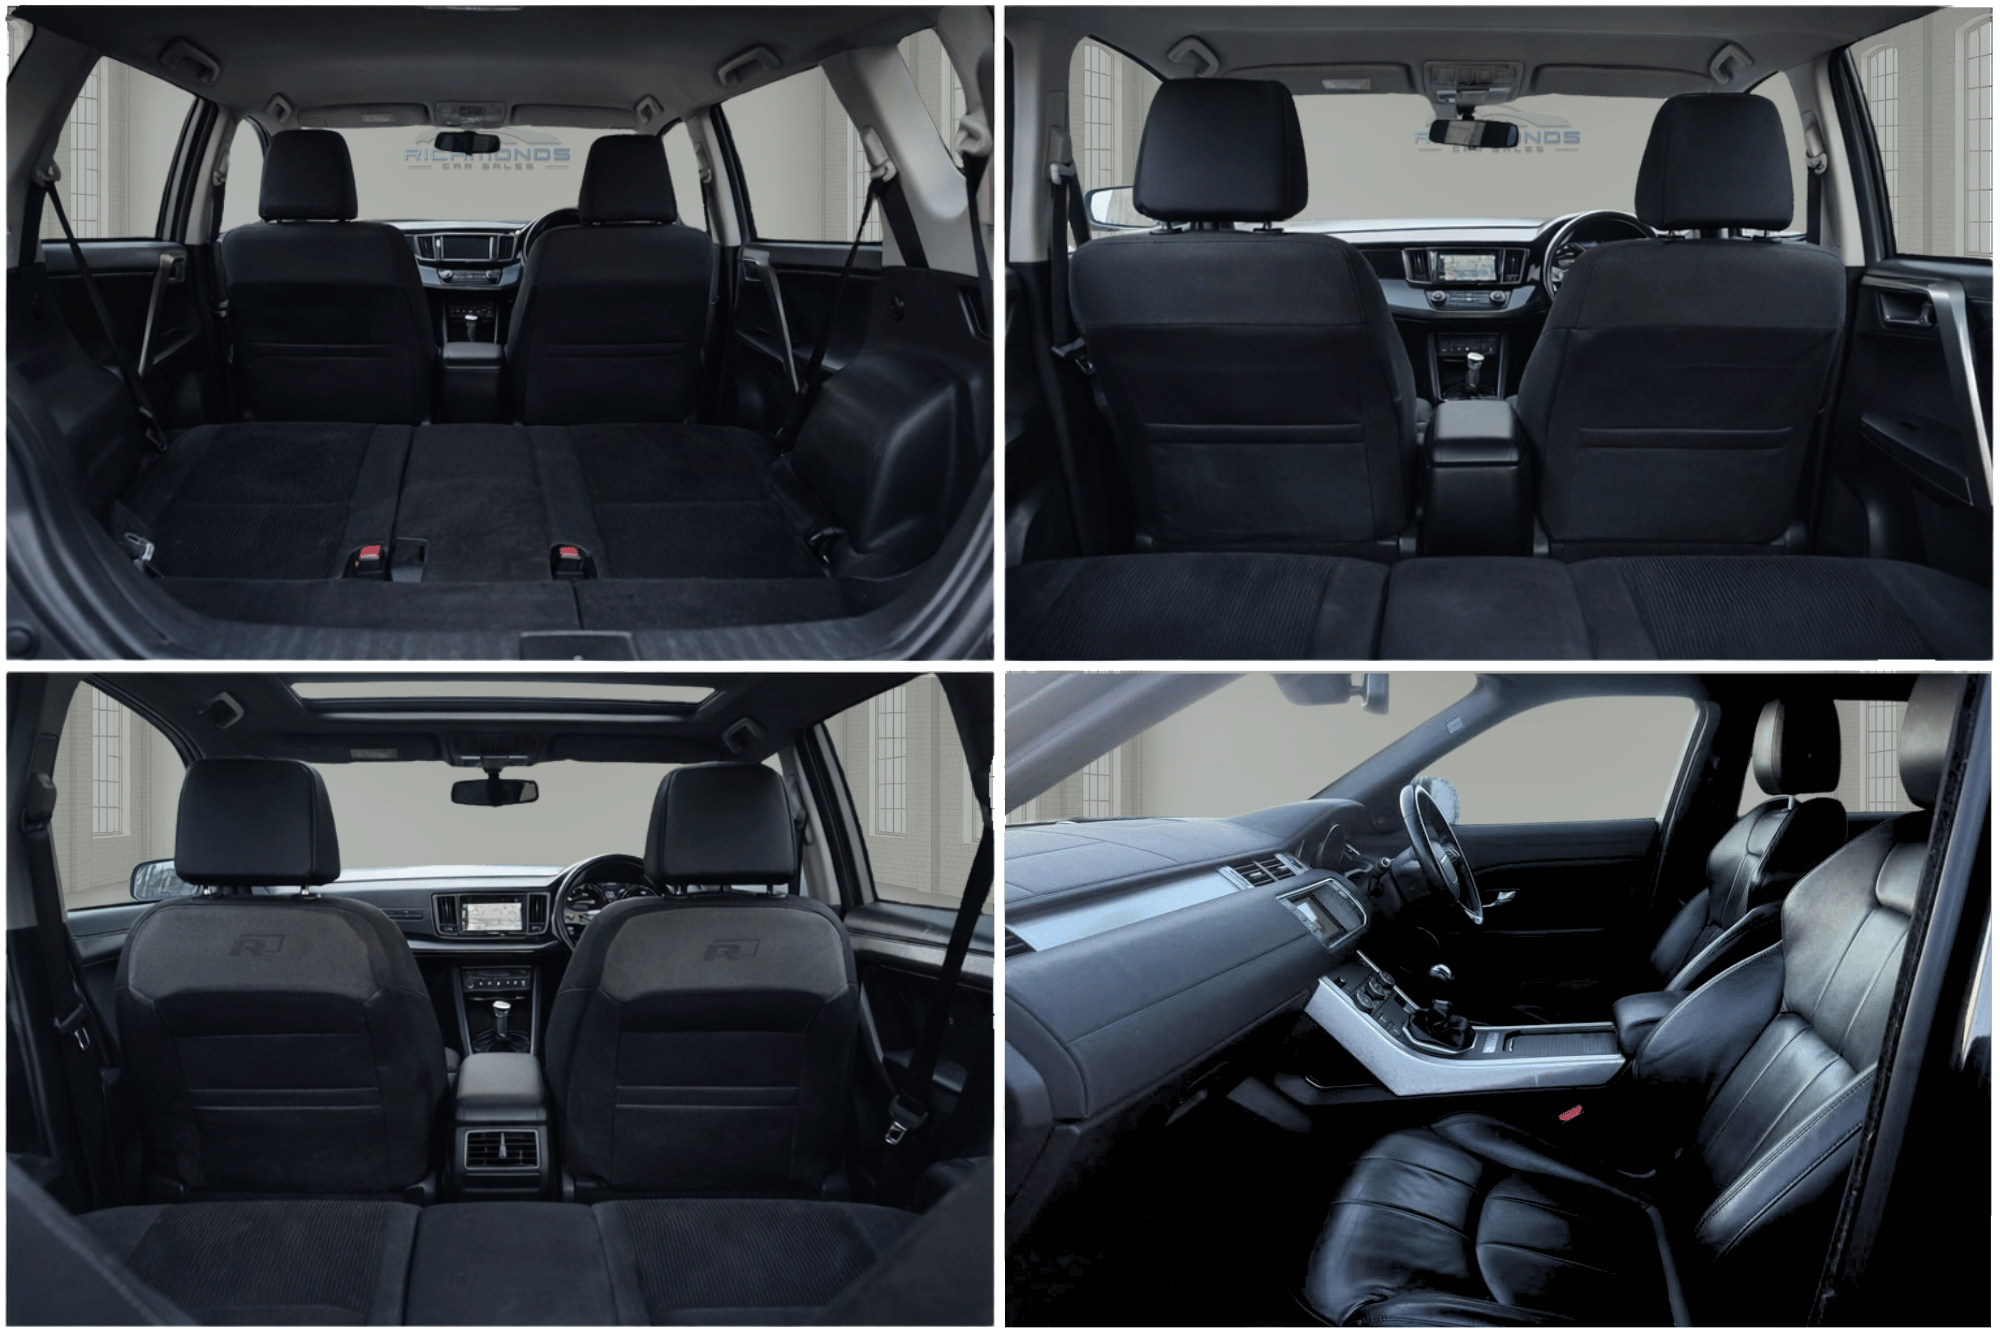
Use landscape camera settings if you would like to include interior shots with any windows on view.
First time? Try one image first.
Upload a single test photo to confirm your camera position and angle.